Location Maintenance - Locations
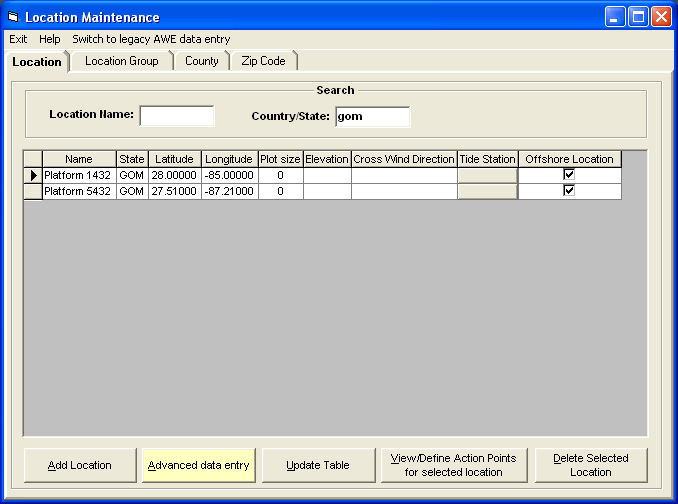
This option allows the user to establish new or change/delete existing locations. Locations can be anything that have latitude and longitude and size attributes. I.E. A city, island, point, lighthouse, etc.. Remember western longitudes are negative while eastern longitudes are positive. The 2nd image above is an example of 2 user defined oil platforms in the Gulf of Mexico. Note the “OFFSHORE LOCATION” column is checked. This will allow the system to calculate wave heights for this location.
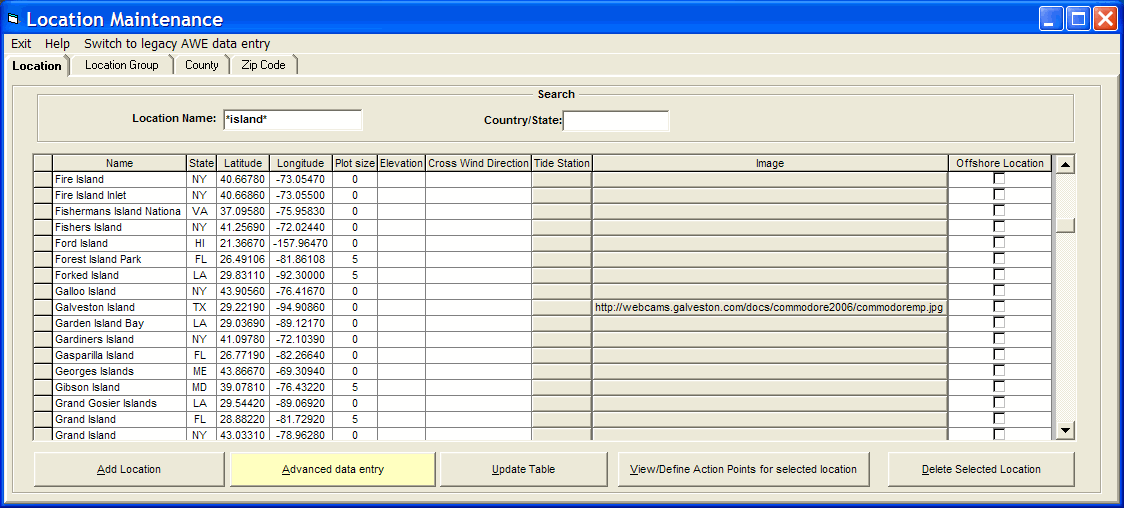
Name - This identifies the location's name
State - This identifies the location's state or country code (2 or 3 digits)
Latitude - This identifies the location's latitude in decimal degrees. All latitudes north of the equator are positive and those south are negative. Latitudes for the North Atlantic and Eastern Pacific are positive. NOTE: DO NOT USE DEGREES AND MINUTES. To convert degrees/minutes to degrees and tenths of a degree, take the number of minutes, divide by 60 and add it to the degree value. I.E. 29 degrees 36 minutes is 29.6 degrees.
Longitude - This identifies the location's longitude in decimal degrees. All Western longitudes are negative while all Eastern longitudes are positive. Longitude values for the Atlantic and Eastern Pacific locations are negative. NOTE: DO NOT USE DEGREES AND MINUTES. To convert degrees/minutes to degrees and tenths of a degree, take the number of minutes, divide by 60 and add it to the degree value. I.E. -78 degrees 54 minutes is -78.9 degrees.
Plot Size - This represents the circular size of this location. This can range anywhere from 0 to 100 nautical miles. A zero value will not draw any circle, thus being well suited for geographical landmarks like points, bays, etc.. Other values will draw circles or points depending on the size of the location and size of the map they are plotted on.
Elevation – This indicates the location’s elevation above mean sea level in feet. It is only used by the SLOSH report function and supercedes the elevation calculated by the DEM (digital elevation model) data included with the system.
Cross
Wind Direction -
This field can be used in 2 different ways.
If a coastal location, this can be used to identify the wind direction that
typically causes the most flooding. For
example, in
Tide Station - This identifies the tide station associated with this location. To associate a location to a tide station, click on this data cell. The user will then be presented with a tide station selection window.
Image – This field allows the user to identify a web or local image file to the system which is used when exporting report data to Google Earth. For more information see Webcam / Location Images.
Offshore
Location -
This identifies the location as a fixed offshore location, such as an oil platform,
etc.. When checked the system will include
wave height calculations in the summary and detailed impact report for this location
If the Legacy AWE is selected the following additional field is displayed
AWE Location - This indicates whether this location "qualifies" for Advanced Wind Estimation. If information has been added via the advanced data entry option, this option will be checked. This is a read only indicator.
The options available from here are:
To ADD a location, select the add location option.
For default Advanced Wind Estimation (AWE) - To enter Advanced information about this location, select the Advanced data entry option.
For legacy Advanced Wind Estimation - To enter Advanced information about this location, select the Advanced data entry option.
To Change a location's information, make the required changes in the data table and select update.
To DEFINE ACTION POINTS, highlight that location in the list and select the View/Define Action Point option.
To DELETE a location group, highlight that location in the list and select the delete option.
Note: you can quickly find a location by using the search fields